This is a brief tutorial of the day-to-day use of SteriSpore with the 3M Auto-reader 390 or 490.
The workflow prompts you at each step of the test. You cannot skip ahead. The times you would interact with this software is at the beginning of a test, when you place the vial(s) in the incubator, and at the end of the test, to verify the results.
Wells in the 3M Attest Autoreader are assigned to particular cycle types. For example, well 1 may be for Midmark Packs, well 2 may be for Statim Wrapped, well 3 for Statim Plastics, well 10 for the control.
This tutorial will demonstrate use with a 3M Attest Autoreader 390, using 60min spores. The workflow is exactly the same as for an Autoreader 490 using 24min spores.
IMPORTANT. Do not remove any vials until all of the days spore tests have elapsed and you have saved the results. However, you can save 10 individual tests per day.
- Activate SteriSpore. The main interface will appear.
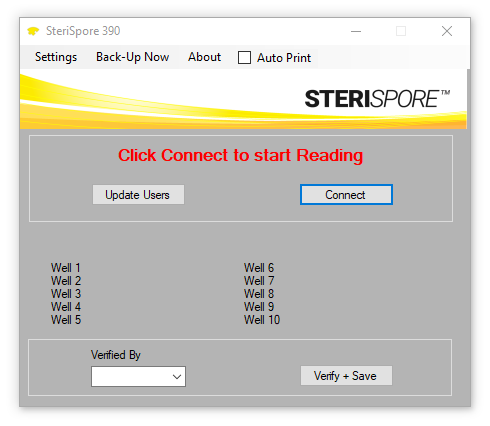
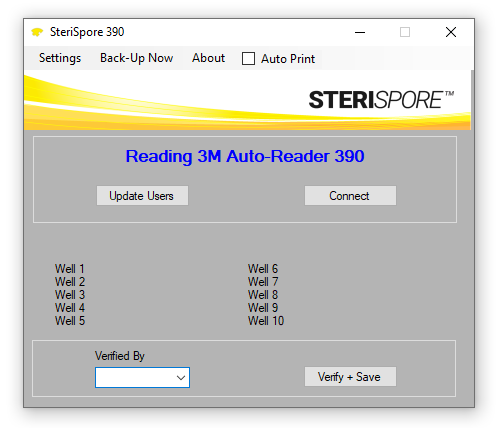
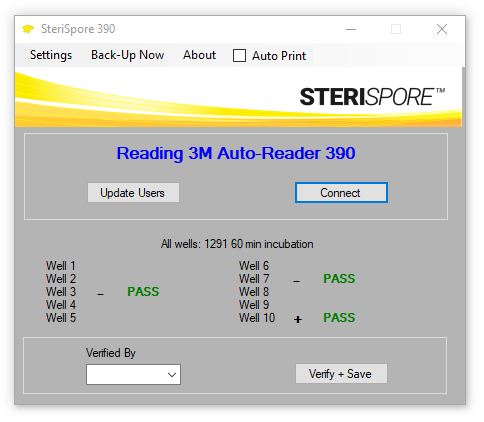
2. Click Connect. The interface will indicate a connection with your Autoreader.
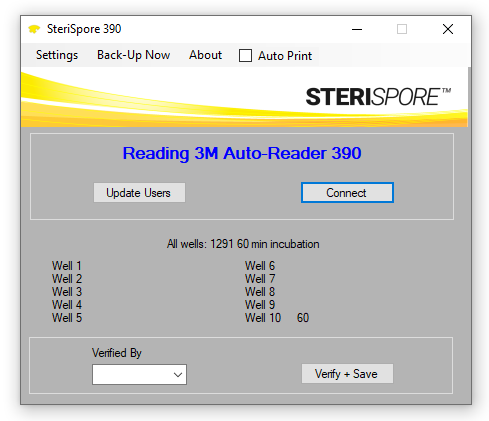
3. Place your control vial first, usually assigned to well 10. A countdown (in minutes) of the duration will appear on the interface. In this case, the duration is 60 minutes.
4. Place your remaining vials in their assigned wells. Similar countdowns will occur. You may place particular vials in their wells at any point in the day, but do not remove them until all tests are complete.

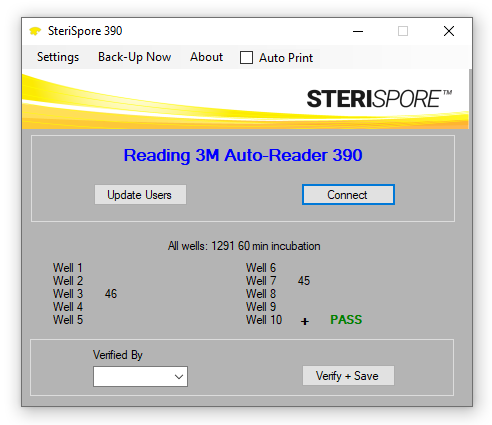
5. Results will show as they occur, as soon the countdowns elapse.
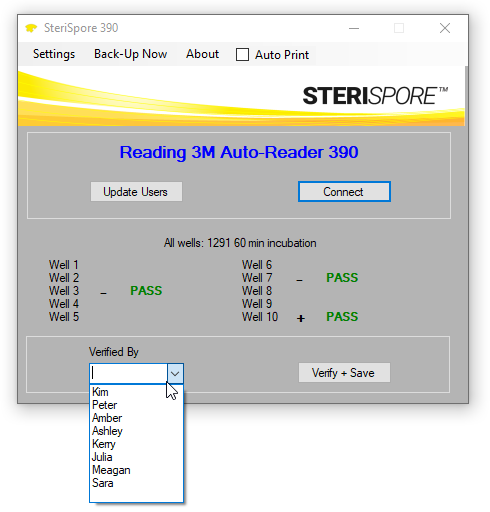
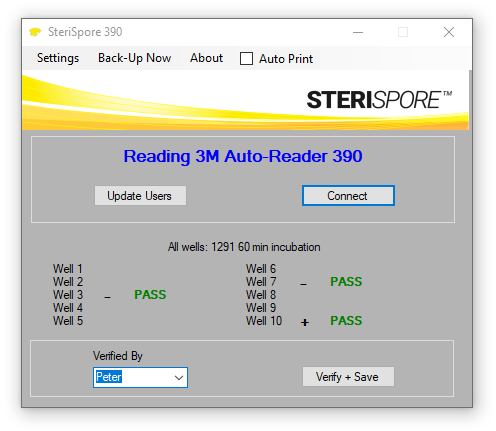
6. When you have completed all spore tests you will do on a particular day, select your name from the Verified By pull-down box.
7. Click Verify + Save to save the results of the days spore tests.
8. You can retrieve the results of any spore test from Settings | View Results.
9. See Settings | Instructions for access to online instructions for some of the other features of this software.